
I make diaper guitars for the Beautiful Beginnings baskets we make for babies born with Down syndrome. You can read more about Beautiful Beginnings on the top tab of this blog if you're interested!
I thought doing a diaper guitar would fit the theme of our basket "rocking an extra chromosome". I searched through many different YouTube videos and blog posts about how to make a diaper guitar, and settled on the way I am going to show you below:

-two Tupperware bowls (one big, one small)
-Diapers
- Onesie
-Bib
-Two 30" x 30" receiving blankets
-Two rubber bands
-Heavy fishing line
-Pins
-Ribbon of various sizes
- A pair of socks
STEPS
1. Get your two bowls ready. One should be smaller to make the top of the guitar.

2. Start lining the bowl with diapers. In these pictures I used size 1 diapers, but you can use any size. If you use a smaller size of diapers you will need more than if you use a bigger size. Face all the diapers the same way as you layer them in the bowl. Leave about a one inch space from the top of the first diaper, then place the next one on top. Layer the diapers around the edge of the bowl, until you reach the first diaper again. Tuck the layering diaper behind the first one so it completes the circle. Keep layering the diapers in the middle of the bowl until there is no more room. Wrap a rubber band around the diapers while still in the bowl. Roll the rubber band down to the middle of the diapers and then pull out from the bowl.


3. "Dress" the two finished diaper rolls in a onesie. In this picture I used a white 3 month onesie. The smaller diaper roll should be at the top, and the bigger on the bottom.


5. Take out your two receiving blankets. Pick which one you want to use as the neck, and which one you want to go around the guitar. During this next step, you are going to be wrapping one blanket around the diaper guitar to keep all the previous steps in place.

6. Open up one of the receiving blankets, and fold it. The size of each fold should match the width of your diaper guitar so it wraps around without any extra showing on the side.

7. Take the folded blanket and wrap it around your guitar. You may need to squeeze the guitar together a little to make sure the blanket fits around and meets together at the top.


10. The next step requires heavy fishing line. I tried a few other ways of doing this, but after failing many times I found that heavy fishing line does the trick! I use the fishing line to bring in the middle of the diaper guitar so it looks a little bit more like the body of a guitar. Tightly tie the fishing line around the middle to secure the shape of your guitar.


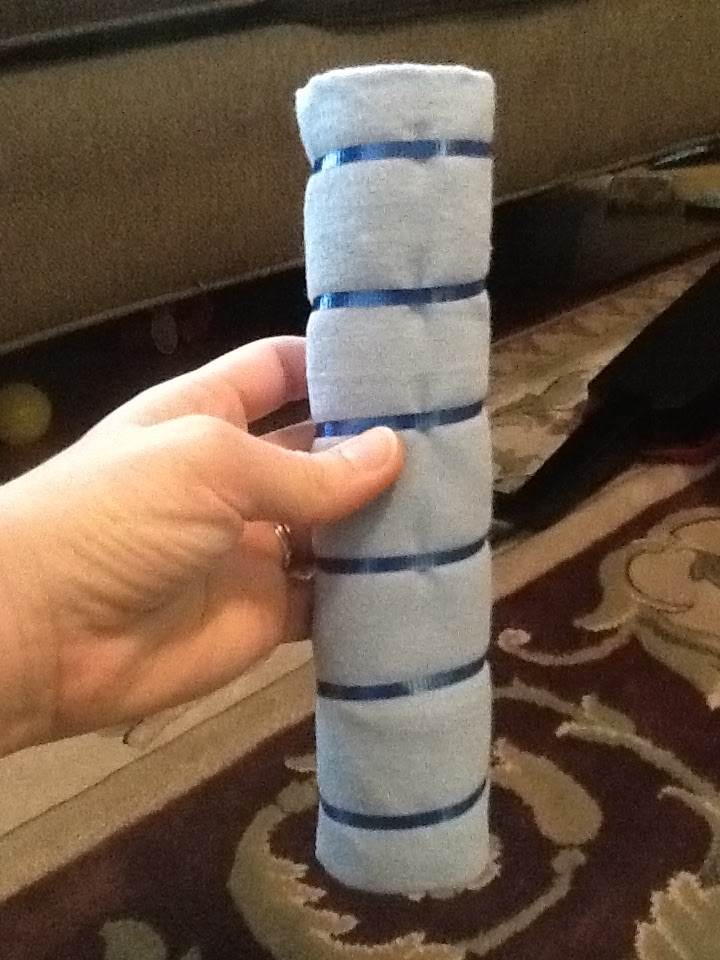
11. Now, you are going to use your second receiving blanket. My blankets came already wrapped up like the one below, which is perfect for the next step. If yours does not, just unwrap it and tightly fold it to about an inch (1.5 maybe) wide, and secure it with tape. This will be the neck of your guitar.


13. Turn your folded blanket over to the side with the flap. Use a pin to secure the start of your ribbon to the top of the blanket. You are going to wrap the ribbon around the blanket roll until you reach the bottom. As you wrap, the ribbon should look diagonal on the back and straight across in the front. When the ribbon reaches the end of the blanket, pin it on the back.


Done! You can play around with different colors and themes for your own guitar to make it unique. I used blue and yellow to match the Down syndrome ribbon.